Undead cultists (as seen in Tilean Campaign Part 16)
The newly made vampire Biagino’s main source of corpses, by his own preference, was the great pile of fallen Morrite dedicants (cultist flagellants) lying upon the battlefield of Ebino. Because all my existing zombies were dead Empire soldiers or dead pirates, I needed new zombie figures, looking like they had been cultists in life. Cue some kit bashing.
I used five different sources for the figures – Mantic (Kings of War) zombies (30) and ghouls (20) would be the core, with elements of Frostrave cultists, GW flagellants and GW ghouls mixed in.
Here are the almost pure Mantic (zombies and modified ghouls, plus a mix up of the two):

Here are the Mantic/Frostgrave:

The Mantic/GW (ghouls/flagellants):

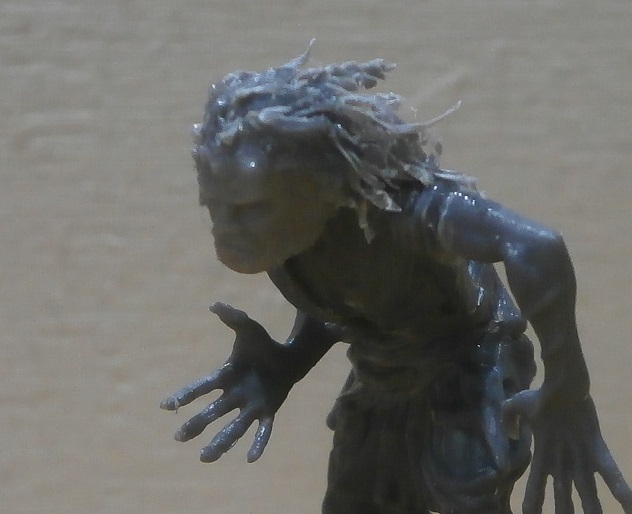
Close ups of some of my favourites:


During the process I think (although I am still not sure) I may have invented a new way of doing hair. Admittedly, I can only make crazy hair this way, but I never claimed to be a stylist, and besides, this is what my own hair actually looks like so it’s karma or zeitgiest or habitual or something else stream of consciousness.
The technique involved pin drilling plastic sprues to create curly/wavy strands …

I then cut them into bits (very fiddly), then blobbed some glue into a head (I chose an entirely bald head for my first transplant operation but you could go for extensions instead) then gently pressed one end of the strands, one strand at a time, into the blob. I then brushed (& squashed) strands into place for that just stepped out of the salon look …


If it’s been done before, I apologise for my vainglorious claims. But I know wargamers are always after tips for their hair.
The Painting
I decided to try a wash technique of sorts. It’s not easy with enamel paints, but I had done it before and it ‘kind-of’ worked. The wash should create skin then I’ll add my usual black undercoat to everything else and continue as normal. Then I decided why risk enamels and so …
Here they are completed:

I tried a new technique with these. Having painted in enamels for decades, using a black undercoat and ‘cell shading’ cartoon style over the top, I thought I’d have a go with acrylics. However, I wanted the figures to ‘fit in’ with my existing armies, so I didn’t go the whole hog. Instead I sprayed a white acrylic undercoat, then painted, washed, drybrushed and inked away at the flesh, until satisfied. Then I slapped a black enamel on all the clothes and weapons and painted those in my usual style. I was hoping to save time (always a consideration when trying to paint a unit of 50). Upon completion, however, I was not entirely sure it was quicker than my usual method!
I like the more ‘subtle’ way the faces came out – much better in close-up than my normal style.

I didn’t think of ink ‘til late on, having never used it before, and I now think I will use it again.

I like the scabby bloodiness of the wounds, which I also washed some green into:

Some of the guys turned out particularly threatening:


Another new thing – I used square 4 figure bases instead of the long ones. It should make it even easier to rank the unit up.

As for the experiment with hair – I can’t decide if it worked well or not. I thought it would look more, well, hairy!


Just to make the difference between this new technique and my old way really jump out, take a look at two zombies …

How times change! Still, I kind of like both techniques, in their own way.
